Up 025ToHobart Prev Next Slideshow

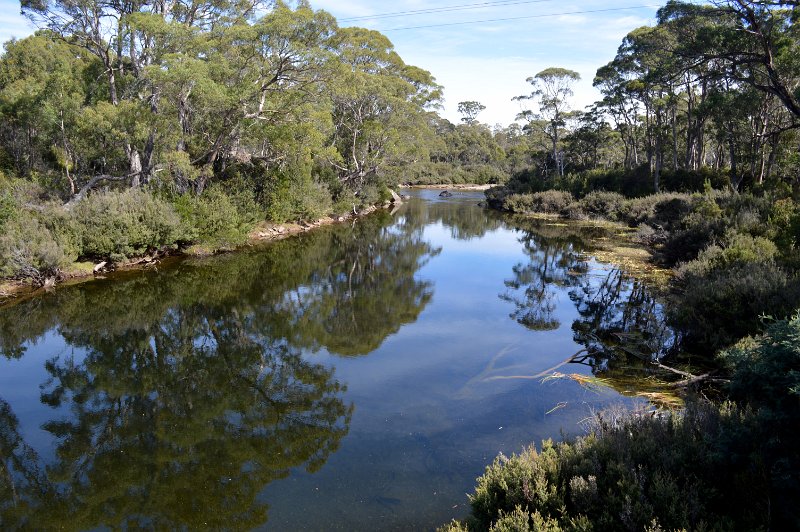
Derwent Bridge and the Derwent river Download

 Previous image  Next image  Index page
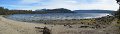
025ToHobartPan01
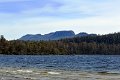
025ToHobart
025ToHobartPan02
DSC_0034
025ToHobartPan03
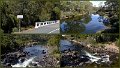
  DSC_0036.JPG - Derwent Bridge and the Derwent river  
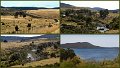
025ToHobart1
025ToHobart2
025ToHobart4
025ToHobart3
025ToHobart5

Total images: 53 | Help